Welcome to the TH5220D1029 Installer Manual, a comprehensive guide for installing and configuring the Honeywell FocusPRO 5000 thermostat. This manual covers installation, setup, and troubleshooting steps, ensuring a smooth and efficient process for professionals. It includes detailed wiring diagrams, system configuration options, and essential safety precautions to ensure proper installation and operation of the thermostat.
1.1 Overview of the Manual
This manual provides a detailed guide for the installation, configuration, and operation of the Honeywell TH5220D1029 thermostat. It is designed to help installers and technicians understand the system’s capabilities and ensure proper setup. The manual covers essential steps, from pre-installation checks to advanced configuration options, and includes troubleshooting tips. It also outlines safety precautions and best practices for working with the thermostat. Intended for trained professionals, this guide ensures a smooth installation process and optimal performance of the FocusPRO 5000 series thermostat. The manual is structured to be user-friendly, with clear instructions and diagrams.
1.2 Key Features of the TH5220D1029 Thermostat
The Honeywell TH5220D1029 thermostat offers a range of features designed for reliable performance and ease of use. It is a non-programmable digital thermostat, providing precise temperature control with a clear, backlit display. The device supports heating and cooling systems, including heat pumps, and offers flexible configuration options. It includes advanced features like automatic changeover between heating and cooling modes and continuous power options for auxiliary heat. The thermostat also has a user-friendly interface with basic and advanced setup options, making it suitable for various HVAC systems; These features ensure efficient and consistent climate control for optimal comfort.

System Requirements and Compatibility
The Honeywell TH5220D1029 thermostat is compatible with most heating and cooling systems, including heat pumps and conventional HVAC systems. It requires a 24V AC power supply and is designed to work with systems that use R, C, W, and Y wiring connections. The thermostat supports both heating-only and cooling-only configurations, as well as dual-fuel systems. It is compatible with single-stage and multi-stage systems, making it versatile for various home setups. Ensure the system meets these requirements before installation to guarantee proper functionality and performance.
2.1 Compatible Heating and Cooling Systems
The Honeywell TH5220D1029 thermostat is compatible with a wide range of heating and cooling systems, including gas furnaces, heat pumps, and air conditioning units. It supports single-stage and multi-stage heating and cooling systems, as well as dual-fuel configurations. The thermostat is also compatible with conventional HVAC systems and heat pump systems, making it versatile for various home setups. Additionally, it works with systems that require R, C, W, and Y wiring connections, ensuring compatibility with most modern heating and cooling equipment. Proper system compatibility is essential for optimal performance and energy efficiency.
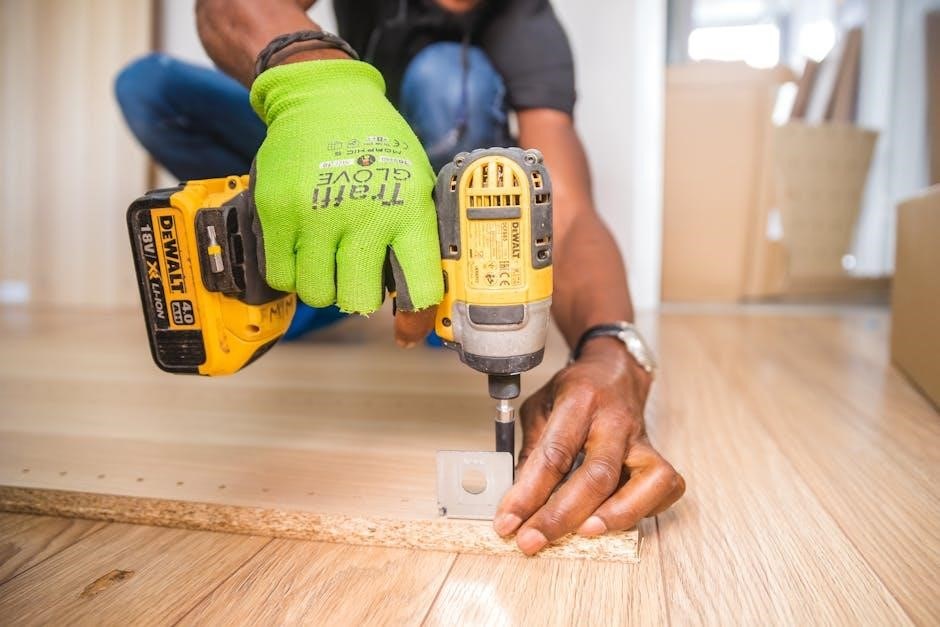
2.2 Necessary Tools and Materials for Installation
To ensure a smooth installation of the Honeywell TH5220D1029 thermostat, gather the following tools and materials: a screwdriver (Phillips and flathead), a drill with bits, wall anchors, and low-voltage wiring. Additionally, you may need a wallplate for mounting, depending on your system. Ensure all materials are compatible with your specific HVAC setup to avoid installation issues. Proper tools and materials are essential for a secure and efficient installation process, preventing potential damage to the thermostat or heating/cooling system.

Installation Steps
Begin by turning off power to the HVAC system. Remove the old thermostat and disconnect wires. Mount the new thermostat, ensuring proper alignment and secure fastening. Connect wires according to the wiring diagram, then restore power. Finally, set up the system type in the Installer Setup menu to match your heating and cooling configuration, ensuring optimal performance and functionality.
3.1 Pre-Installation Checklist
- Ensure the power to the HVAC system is turned off at the circuit breaker or fuse box.
- Gather all necessary tools and materials, including a screwdriver, wiring labels, and mounting hardware.
- Verify compatibility of the thermostat with your heating and cooling system.
- Check the wiring configuration of the existing thermostat to ensure proper connections.
- Remove any batteries from the old thermostat and dispose of them safely.
- Take photos or label wires to simplify reconnection during installation.
These steps ensure a smooth and error-free installation process.
3.2 Mounting the Thermostat
Before mounting, ensure the wall surface is level and clean. Remove the wallplate from the thermostat and attach the mounting hardware to the wall using screws or wall anchors. Align the screw holes with the wall anchors and gently press the thermostat onto the mounting bracket. Secure it firmly to ensure stability. Reattach the wallplate and tighten all screws to complete the installation. Ensure the thermostat is level and properly aligned for accurate operation.
3.3 Wiring Diagrams and Connections
Refer to the wiring diagrams provided in the manual for specific connections. Ensure the power is off before starting. Connect the R (red) wire to the R terminal and the W (white) wire to the W terminal. The Y (yellow) wire connects to the Y terminal for cooling. For heat pumps, connect the O or B wire to the appropriate terminal. Secure all wires tightly and double-check connections to avoid issues. Proper wiring ensures safe and efficient thermostat operation, as outlined in the installation guide.

Setup and Configuration
Configure the thermostat by selecting heating or cooling modes. Use the Installer Setup menu for advanced options like system type and fan settings. Ensure proper system operation by adjusting preferences such as temperature range and scheduling, as detailed in the manual.
4.1 Initial Setup for Heating and Cooling Systems
Start by powering on the thermostat and selecting the system mode. Choose between heating, cooling, or auto mode. Set the desired temperature and fan operation. The thermostat is pre-programmed, but verify settings like heat/cool and fan operation. Ensure the system type matches your equipment, such as heat pump or conventional systems. Use the Installer Setup menu for advanced configurations, like enabling emergency heat. Refer to the manual for detailed guidance on initial setup and system compatibility to ensure optimal performance and energy efficiency.
4.2 Advanced Configuration Options
Access the Installer Setup menu to configure advanced settings. Select the system type, such as heat pump or conventional, and enable features like auxiliary heat. Adjust temperature differential and stage settings for optimal performance. Set the fan operation to circulate air during idle periods. Configure the L terminal for continuous power in emergency heat mode. Use the Installer Setup options to customize the thermostat’s behavior, ensuring compatibility with your HVAC system. Refer to the manual for detailed instructions on each advanced setting to tailor the thermostat to your specific needs and system requirements.
4.3 Installer Setup Menu Overview
The Installer Setup menu provides advanced customization options for the TH5220D1029 thermostat. Access this menu to configure system-specific settings, such as system type (e.g., heat pump or conventional), stage operation, and fan settings. Adjust parameters like temperature differential and auxiliary heat activation. The menu also allows enabling or disabling features like the L terminal for continuous power in emergency heat mode. Use the menu to tailor the thermostat’s behavior to your HVAC system’s requirements. Refer to the manual for step-by-step guidance on navigating and configuring these settings effectively.
Operating the Thermostat
Learn to navigate the intuitive interface, select heating or cooling modes, adjust fan settings, and automate system operations for optimal comfort and energy efficiency.
5.1 Understanding the Thermostat Interface
The TH5220D1029 thermostat features an intuitive interface designed for easy operation. The display screen shows current temperature, system mode, and fan status. Navigation buttons allow users to adjust settings, cycle through modes, and access advanced options. The interface includes a menu system with options for temperature adjustment, scheduling, and system monitoring. Users can switch between heating, cooling, or auto modes effortlessly. The brightness of the display can be adjusted for optimal visibility. Familiarizing yourself with these elements ensures seamless control of your HVAC system.
5.2 Heating and Cooling Mode Selection
The TH5220D1029 thermostat allows users to select between Heat, Cool, or Auto modes. In Heat mode, the system provides warmth, while Cool mode activates cooling. Auto mode automatically switches between heating and cooling based on the set temperature. Use the system button to cycle through these modes. The display will show the active mode, ensuring clarity. Selecting the correct mode ensures optimal temperature control and energy efficiency; Familiarize yourself with these options to customize your comfort settings effectively. Mastering mode selection enhances overall system performance and user satisfaction.
5.3 Fan Operation Settings
The TH5220D1029 thermostat offers Fan operation settings, allowing users to control airflow. The fan can be set to Auto or On. In Auto mode, the fan runs only during heating or cooling cycles, optimizing energy use. In On mode, the fan operates continuously for consistent air circulation. Use the thermostat interface to select the desired fan mode. The default setting is typically Auto for energy efficiency. Adjusting the fan mode ensures proper airflow and comfort in your space. This feature is easily accessible via the thermostat’s menu, providing flexibility for user preferences. Proper fan operation enhances overall system performance and indoor air quality. Ensure the mode aligns with your comfort needs.
Maintenance and Troubleshooting
This section covers routine maintenance and troubleshooting for the TH5220D1029 thermostat. Regularly check the thermostat’s display for accuracy and ensure all wiring connections are secure. Cleaning the device periodically helps maintain optimal performance and prevents malfunctions. If issues arise, refer to the troubleshooting guide for quick solutions to common problems like unresponsive screens or incorrect temperature readings.

6.1 Routine Maintenance Tasks
Performing routine maintenance ensures the longevity and efficiency of the TH5220D1029 thermostat. Regularly inspect and clean the thermostat’s display and sensors to prevent dust buildup, which can affect accuracy. Check the battery terminals for corrosion and replace batteries as needed. Verify that all wiring connections are secure and free from damage. Schedule annual checks with a professional to ensure proper system operation. Additionally, update the thermostat’s software periodically to benefit from the latest features and improvements.
6.2 Common Issues and Solutions
Common issues with the TH5220D1029 thermostat include an unresponsive display, incorrect temperature readings, or the system failing to turn on. For an unresponsive display, check the power source and battery connections. If temperature readings are inaccurate, ensure the sensor is clean and free from obstructions. If the system does not activate, verify wiring connections and ensure the thermostat is properly configured. Refer to the troubleshooting section in the manual for detailed solutions, or consult a professional if issues persist. Regular maintenance can help prevent these problems from occurring.

Safety Precautions and Warnings
Warning: Always follow the manual’s guidelines to avoid electrical hazards. Ensure proper installation and configuration to prevent system malfunctions. Verify all settings post-installation for safe operation.
7.1 Important Safety Information
Warning: Ensure the power to the HVAC system is turned off before starting installation. Improper wiring can cause electrical hazards or system damage. Always follow local electrical codes and manufacturer guidelines. Use appropriate tools to avoid personal injury or equipment damage. Keep the thermostat out of reach of children to prevent tampering. Refer to the manual for specific safety precautions related to your system type. Failure to comply may result in unsafe conditions or void the warranty. Proper grounding is essential for safe operation.
7.2 Best Practices for Installation and Use
Best Practices: Always turn off power to the HVAC system before installation to ensure safety. Use the correct tools and materials to avoid damaging the thermostat or system components. Follow the wiring diagram carefully to prevent connectivity issues. After installation, double-check all connections and settings to ensure proper operation. Regularly inspect and maintain the thermostat and HVAC system to optimize performance. Refer to the manual for troubleshooting common issues. Update software if necessary to maintain functionality and security. Proper installation ensures reliable operation and extends the lifespan of the thermostat.
With proper installation and setup, the TH5220D1029 thermostat is ready to efficiently manage your heating and cooling systems. Ensure all settings are verified for optimal performance.
8.1 Final Checks and System Verification
After completing the installation, perform a final check to ensure all settings and connections are correct. Power on the thermostat and verify heating, cooling, and fan modes. Check the system type in Installer Setup matches your equipment. Ensure proper wiring connections and test operation in Auto mode. Review all settings, including temperature ranges and fan operation, to confirm they meet your requirements. Conduct a test run to ensure smooth transitions between modes. This verification ensures optimal performance and efficiency of the TH5220D1029 thermostat.
8.2 Resources for Further Assistance
For additional support, visit Honeywell’s official website to access the complete TH5220D1029 manual, troubleshooting guides, and FAQs. Download the PDF manual for detailed instructions. Contact Honeywell customer support via phone or email for technical assistance. Refer to the Installer Setup section for configuration help. Ensure to consult certified professionals for complex installations. Additional resources include user forums and Honeywell’s dedicated support page for the FocusPRO series. These resources provide comprehensive assistance for optimal thermostat performance and maintenance.